

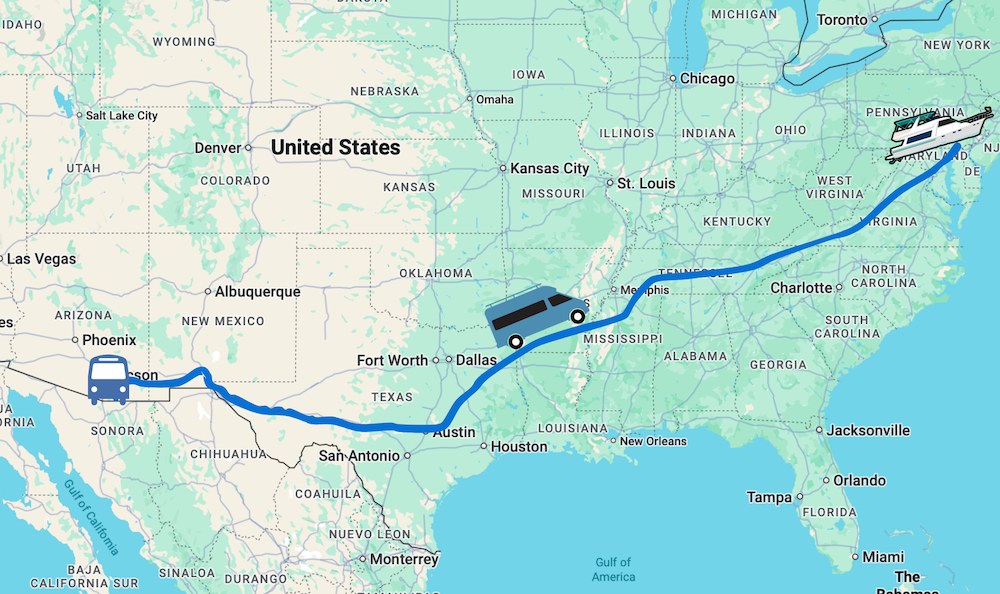
Now that we’re back to Zephyr at our winter home base in Benson, AZ – it was time to tackle a pretty major pending project we had left from our last visit.
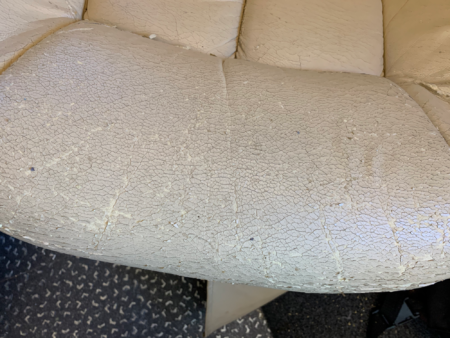
When got Zephyr out of storage in 2019, we were disappointed to discover that the our two front Flexsteel captains chairs were peeling.
At this point, they were barely 5 years old and had been in storage for nearly 2 years of that time. We purchased and installed them at Bradd and Hall Furniture in Elkhart, IN in 2014.
After some research and posting to Instagram and Facebook, we discovered we were not alone.
Apparently there was a really bad batch of polyurethane ‘fake leather’ marketed under the name of Haloleather that was installed on lots of RV furniture (and similar issues even in residential furniture). And it was failing everywhere – including many high end coaches by Tiffin and Newmar. Many RV manufacturers were sending out replacement fabric to customers.
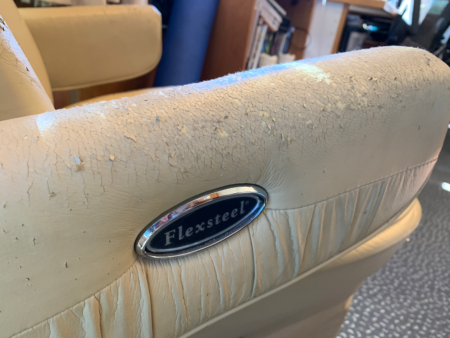
We reached out to Flexsteel, who explained that the company that made Haloleather, Fabric Services, had since gone out of business. So there was no recourse there.
They also felt they had no responsibility in the matter, as they don’t choose the fabrics – the customer ordering the furniture does and sends it to them (such as the RV manufacturer or distributor).
Flexsteel has since exited the RV furniture business.
We also contacted Bradd and Hall, who also explained the history of the issue, and sent us to this blog post they made about it, and why they recommend real ultraleather instead (not polyurethane based products).
And much to our surprise, Bradd himself offered to send us new coverings for the seats at their cost.
He even offered that if we were in Elkhart, they’d provide the labor to do the swap out (not that it was feasible for us to return to Indiana at this point). He sent us out several fabric samples, offering a credit towards what we selected for the value of our basic level fabric.
Given that we only paid $620 per seat and the new coverings were $375 a piece, and we were out of our 2-year warranty – we felt this was WAAAY above and beyond. He was clear they had done this for other customers, and this wasn’t because we were content creators.
Truly first class customer service, in our opinion – exceeding our high regards of dealing with Bradd and Hall from the beginning.
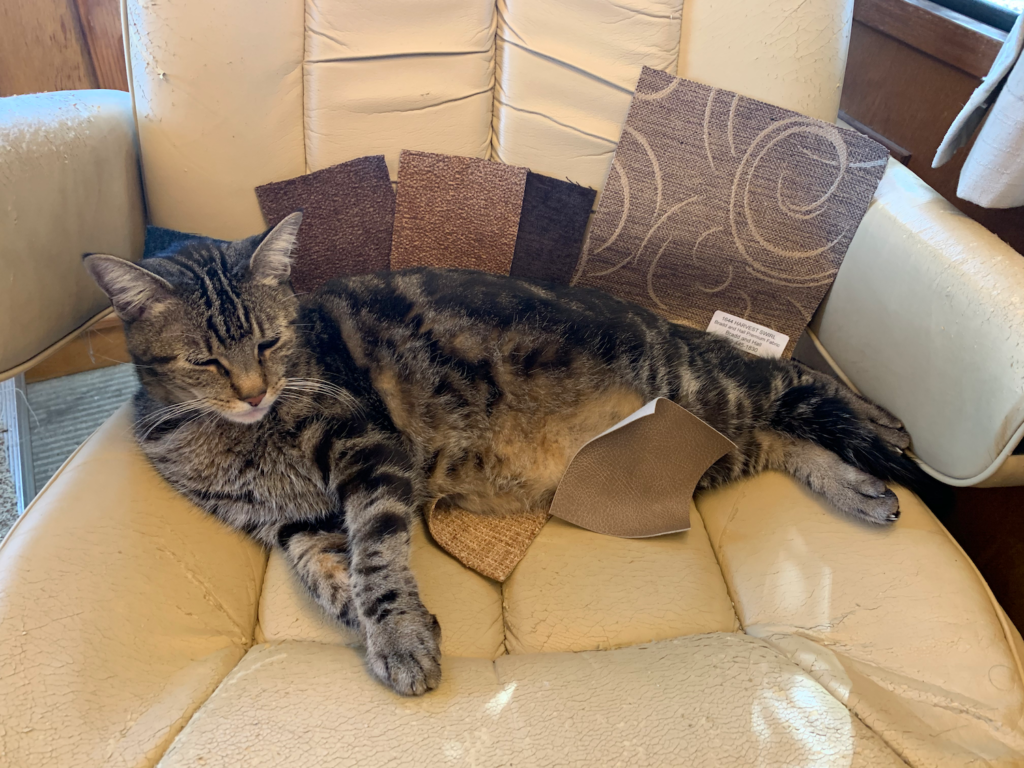
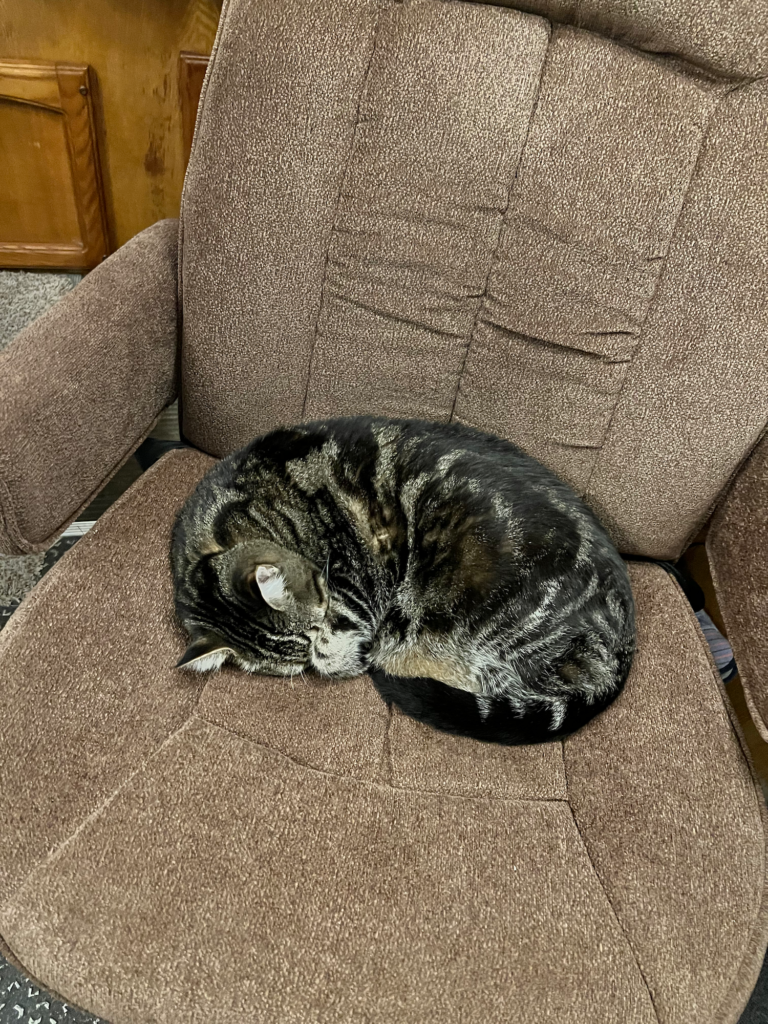
After looking at the samples over many days, and seeing which would look best with Kiki (most important factor in choosing upholstery is how it matches your cat, of course) – we selected a medium brown cloth fabric.
No more fake leather for us. And this would better coordinate with the fabric covered jack-knife sofa we installed in 2015.
The new covers arrived just as we were packing up to head back to Florida in early 2020. So on a shelf they sat in Arizona, awaiting our eventual return.
Which was of course delayed a year because of COVID.
How To Replace Seat Covers
I had done a quick google scan before deciding on this path to make sure this project was humanly possible. Thanks to several threads on IRV2 Forums, we felt at least confident we’d have resources to tap into.
We also found this more recent YouTube video from Rolling Ragu where they documented the process which was very helpful (so thus, we didn’t film the experience):
Given how busy we were when we arrived to Benson this time around, we thought about just trying to find someone to handle the job for us. But we figured aside from the cost (likely $300-500 per chair in labor) – the hassle of finding someone, getting worked into their schedule, transporting and waiting wouldn’t fit the couple months we had planned here.
All and all, once we had our parts purchased and had done our research – it took us about 3-4 hours per seat from start to finish. There wasn’t anything that was necessarily difficult, just a lot of time consuming steps.
The biggest tip we learned was take pictures as you disassemble, so you know what to put back together again!
Step 1: Parts We Needed
- Seat Covers – Provided by Bradd and Hall, they came nicely folded with no instructions on just what to do with these things. There are 7 different pieces for each seat included (seat back, seat bottom, two arm pieces and three skirt pieces). While Flexsteel is no longer making them, they list a lead of former Flexsteel employee Lisa Bauer offering to have covers made – bauerrvupholstery@gmail.com. Ironically, Lisa is the Flexsteel contact who communicated with us initially. $375 per seat was the price back in 2019 for basic fabric.
-
We didn’t know a thing about hog rings before this project! Hog Rings & Pliers – These little rings hold all the fabric together underneath the chair. We had no idea what this tools was, so we just searched Amazon, and apparently bought the right thing: Hog Ring Pliers Kit. About $16 for the pliers and rings.
- Fabric Glue – We purchased some spray fabric glue in the craft section of our local Walmart to help keep the seat bottom portion of the fabric attached to the foam. About $6.
- Staple Gun – The fabric around the skirt is attached by staples to a cardboard ring. We borrowed a staple gun from our co-op’s workshop for this task, and left a $5 donation behind for the staples we used.
- Prying Things – There are several things that required you pry them up – like the old staples, hog rings and screw coverings. And places where the fabric was attached with glue needing some extra help to separate. So a small pry bar, scraper and plier type thing is useful.
- Screwdrivers – There were a variety of screws to remove.
- Baggies – Or something to temporarily store all the screws and little things you’ll need to put your chairs back together again.
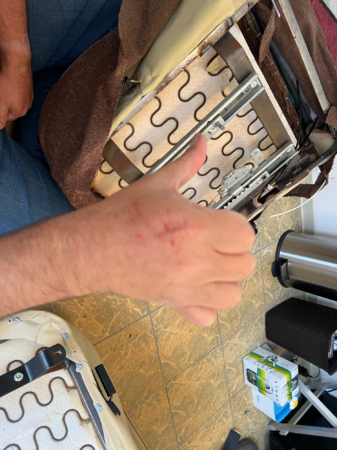
- Bandaids – We each ended up with several scratches on our hands. The bandages help keep the blood off your new fabric.
Step 2: Removing the Old Covers
The covers sent aren’t slip covers that you just put over the existing seats.
These are the actual original style seat coverings that are made to snuggly fit over the cushioning. Just as if installed at the factory. You have to remove the existing fabric first. And this is honestly the hardest part.
You first need to remove the seats from your RV and put them somewhere you can work for a few hours – and possibly store overnight if you don’t complete. We were thankful that we had our casita at our lot in Benson to setup as a workshop for the project.
And then.. you start disassembling the seat.


First take off the arms, which is done by folding them completely to the back, pushing them into the chair and perhaps a bit of a ‘wiggle’. To remove the fabric from the arms, you’ll need to pry up the Flexsteel logo sticker to reveal the screw holes to remove that piece of plastic. And the controls on the arms take a bit of finesse to pry out and unattach.
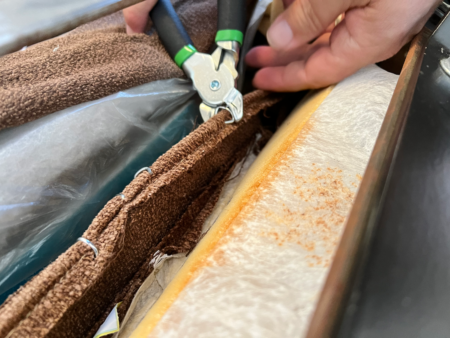
Next remove the skirt, which is attached to a cardboard ‘ring’ with screws. Before carefully removing the staples to take the skirt off, we recommend tracing the edges of the fabric with a pencil, and mark where the three different pieces of skirt start and end. This will make it much easier to attach the new skirt. Have bandages ready for incidental cuts, and be careful not to destroy the cardboard ring – you’ll be reusing it.
Next take several pictures of the bottom of the seat, so you have reference of where all the hog rings are before you remove them. And where all the various fabric bottoms need to meet up in the end. The hog rings attach the fabric to the frame, keeping everything nice and tight. They should bend off with pliers.
And then, start removing the fabric from the seat back and bottom. On our model, the seat bottom fabric was glued to the foam, so a putty scraper was handy to get it going without removing too much of the foam.
Now, you’re left with just the foam attached to a frame.
Celebrate the milestone – you successfully removed the fabric without passing out from blood loss!
Step 3: Recovering
Now you basically reverse the process but with the new fabric (not the old – that would be silly). And by this time you’re far more familiar with upholstery than you were before.
Refer to pictures you took.


Take it slow pulling the back cover on, it’ll be tight. There’s an insert that tucks into the seat cushion itself near the top, get that done first then pull the fabric slowly down the frame. And it definitely helps if you didn’t totally destroy the thin piece of plastic over the foam to help slide fabric back on.
Get your seat cover in position, and then spray your glue onto the ‘indent’ portion of the foam and fabric. And then hold it down firmly for a minute or so.
Consult your pictures of the bottom of the seat to remind yourself of where all the hog rings and fabric ends need to go, and get the bandages ready – this is where you’re most likely to cut up your hands.
Staple the new skirt fabric to the cardboard ring, lining it up as closely to your marks as you can. Please avoid stapling your fingers in the process.
Pull the arm covers over the arms, it’s a tight fit and might remind you of putting on a… well.. nevermind. Replace the hardware you removed (ours did come with small holes already made) and reattach the arms to the chair (you might need to cut holes here).
Screw on the skirt ring.. and bam.. you have a newly recovered chair!
Re-install into your RV:

… and let the cat take a nap, because she’s been working hard to supervise this project:
All and all, it was very rewarding to have done this project ourselves – and we’re thankful for those who have gone before us and shared their tips.
We’re also sincerely thankful for Bradd and Hall for delivering over the top excellent customer service. We wouldn’t hesitate one moment to purchase RV furniture through them in the future. If you’re ever in Elkhart and ready for interior upgrades, definitely go see them.
Hi I’ve just happened on your blog. I’m in New Zealand living in our house bus. We have a captains chair doing the same as yours did. I would really like to know details on where you purchased the recovering kit. There is a number of people in NZ with these chairs and this issue.
Sharon
As stated, the company we purchased the seats through sent us the covers.
Thanks for the cost breakdown and how much M&O has been offset by renting your lot when you weren’t present. This has been very helpful.
I’m considering becoming a leaseholder at Saguaro Escapees RV Park and I hope you will tell me if the return from renting your lot has covered your yearly M&O fees. I didn’t know how else to ask you this question. A simple yes or no is all I need. I know how the fees are divided and that your answer is NOT a guarantee of anything. I appreciate it if you decide to answer. Thanks in advance regardless of whether you answer or not.
We’ve kept our original SKP Saguaro post updated with our annual costs at the end: https://www.technomadia.com/2018/06/we-bought-a-house-our-long-term-rving-plans-at-skp-saguaro-in-benson-az/
Thanks for the information. Your expense and return numbers were very helpful.
That was one huge project. I am impressed with the Reupholstering. It looks fantastic. I am sure Kiki was a great help and did a marvelous job of supervising. She looks quite comfortable and it is nice to see photos of her enjoying the process. Be well and take care. I look forward to your next post.
Good post. Thanks.
I’ve never understood why fake leather products are allowed to have the word leather in their name. While Ultraleather may be good it should be called Ultrafakeleather.
They look great. I’ll bet you are glad that’s behind you. DIY can be fun; or just a huge pain in the ……
Wow you guys did a great job! Coincidentally we just left NIRVC from finally getting Newmar to cover the cost of recovering our furniture in our 2016 Newmar.
Thank you for all the information and steps involved in doing this project and making everyone aware of this problem. This year we purchased a 2016 class C with peeling seats. Our previous class A’s were older and the seats were still in good condition. We now believe this explains our current situation.
Great post, thank you for inspiring us all to jump into something huge! Amazing!!!